“Laws
are like sausages — it is best not to see them being made.”
After
both working in the legal profession for a several years, the Butchers of Great
Thorne have come to the conclusion that, despite the adage, the
sausage making process is actually much more interesting than the law.
So
with this in mind, we wanted to tackle a butchery classic to kick off the blog,
and we decided that beef and pork sausages fit the bill. So we organised
the Inaugural Butchers of Great Thorne Sausage Fest.
For
this first excursion into sausage artistry, we sought the assistance of a
couple of experienced amateur butchers, Danny and Alex. We also engaged the services of Danny's sausage quality assurance officer, Orson the Dog.
Danny
bought the cuts of pork and beef from the Meat Emporium in Alexandria, which is
pretty much a giant fridge containing every type of meat in existence.
He also brought along his trusty Kitchen Aid mixer - no, we weren’t planning on
baking a meat flavoured cake, but rather, the Kitchen Aid has a handy meat
grinder and sausage nozzle attachment (Note: 'sausage nozzle' is not a
euphemism). The day before, we had tracked down one of these attachments
at Johnson’s, a kitchen and chef supply store (with an unfortunate name given the fact we were buying a 'sausage nozzle' from them) at Haymarket.
We
had originally planned to use an old school hand meat grinder that Dave had
procured while we were still living on Great Thorne Street. The first
time we tried to use this hand grinder, it had taken what seemed like
forever to grind up beef and kangaroo meat into burgers, and turning the handle
got old pretty fast. So we were hoping that the Kitchen Aid would save us
a hell of a lot of time and prevent us from developing “meat grinder’s
elbow”. Plus, the "cost per use" will mean it's a great investment,
as the 'Butchers of Great Thorne Sausage Fest' will no doubt become a
regular event.
For
the beef sausages we used a slab of oyster blade, along with some pork fat.
Oyster blade is a cheaper cut, but has some nice fat marbling and texture. Danny also
came across a slab of Wagyu beef that was on special, and rather than making
separate Wagyu sausages, we just chucked the Wagyu into the mixture with the
oyster blade. Pork shoulder, which also has
a lot of fat, was the basis for the pork sausages (along with another nice
helping of pork fat). We also got hold of some natural sausage
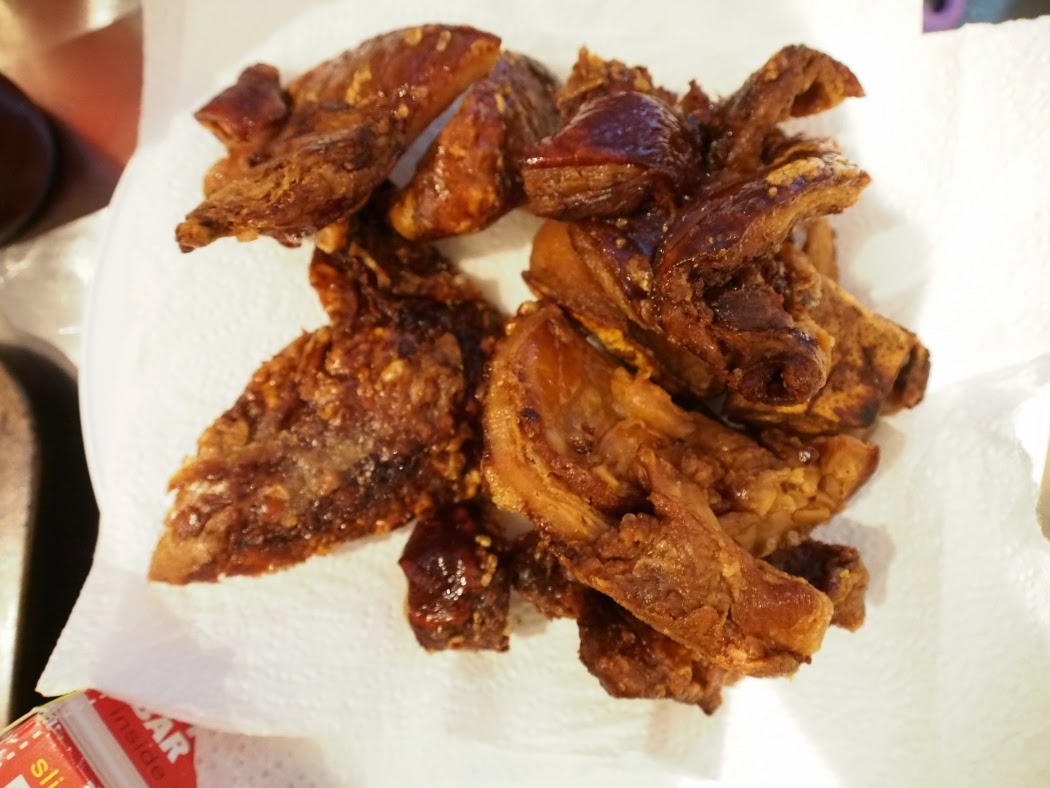
casings (as opposed to synthetic ones), and some pig skin to cook up some pork
crackling to keep us going while we made the sausages.
All in all, the food supplies (including spices) cost $80 which equated to roughly 5kg of meat or 80 to 100 sausages, plus some left over mince. Overall it worked out cheaper than buying the equivalent at a butcher.
The
first step involved grinding the meat. Dave’s book (Home Sausage Making by Susan Mahnke Peery and Charles G. Reavis) provided
a useful tip – freezing the meat for about 30 minutes beforehand assists with
the grinding process, as slightly frozen meat grips onto the grinder more than
room temperature meat, which can get caught up in the grinder teeth. The
pork, which we ground first, wasn’t very frozen, and compared to the beef,
which by the time we were ready to use it had
hardened slightly in the freezer, took longer to grind. We would recommend freezing for 45 minutes to an hour depending on the capabilities of your freezer.
Within
the first 3 minutes of grinding, the attachment got clogged with sinew and meat
gristle – delicious. So annoyingly, we had to take apart the attachment
to remove the blockage. This was easier said than done, as the
sinew had totally latched on to the metal parts. After that setback, we
were slightly worried that the whole process would take a little longer than we
had anticipated.
Interestingly,
once we got the grinder going again, we managed to get through the rest of the
pork without another blockage.
Grinding
the beef was a breeze and was much quicker than the pork. The strings of
red minced meat coming out the other side of the grinder looked perfect for
making burgers (but that's for another blog instalment).
For
each batch of meat, we added in separate spices – mostly garlic and fennel for
the pork, and dried sage, pepper and cayenne for the beef. Both sausages
required a good helping of salt too, but we were wary of making them overly salty,
like store-bought sausages tend to be. We mixed the spices through the
freshly minced the meat
by hand, making sure that the spices were spread evenly throughout the mixture.
Now
came the challenging part – pumping the meat into the sausages (insert metaphor
here). We changed the grinding attachment by removing the grinding part,
and inserting the sausage nozzle (not a euphemism either) and meat limiter (which regulates the flow of the minced meat through the nozzle). Before you
start pumping the meat through, you need to place the sausage casings onto the
nozzle. You need to soak the casings first, but as we learned, don’t
remove the casings from their plastic cylinder before you do that - it’ll save a
you lot of time, pushing the casings directly onto the nozzle (see pics for a detailed
sausage nozzle demo). Once the casing is on the sausage nozzle you just tie off the end and start pumping the meat through.
Pumping the
sausages into the casings was much easier than we thought. It’s all about
patience and keeping a consistent speed. There were a few sections of the
pork sausage coil that were thinner than others, but by the time we started on
the beef sausages, we had a good rhythm going and felt we had the hang of it.
When filling the casings you just pump the meat into one long coil. Once you have finished, you tie off the end and then start twisting links of sausages. Two or three turns is sufficient to keep the meat in the casing. After we twisted off all of the links we inspected the sausages for any air pockets, which we burst (as air pockets can encourage bacteria growth - yuk).
The
finished product was delicious. The pork sausages were garlicky and
nicely fatty. The beef sausages had a slightly
coarser texture but were also superb with a subtle but welcome kick of spice at the back end.
The
leftover beef mince (we ran out of casings) made excellent meatballs in a
simple tomato sauce.
Stay
tuned for the Second Butchers of Great Thorne Sausage Day! We’re hoping to
tackle a more challenging kind of sausage – Boerewors
or maybe even chorizo…